One of the most important factors in creating beautiful latte art is the consistency of milk texture. Good quality, glossy micro-foamed milk is the first step in achieving crisp, clean latte art.

Here is our step-by-step guide to steaming barista-level milk for your flat whites, cappuccinos and lattes:
- Always start with cold, fresh milk and an empty, clean jug.
- Make sure your steam wand is angled slightly off-centre and the jug slightly tilted, so the milk creates a whirlpool. With the steam want just at the surface of the milk, turn the steam wand on to full power and gradually lower your jug to add in air (creating micro-foam).
- Let the air in straight away – ensure you have completed your stretching stage before the milk reaches body temperature.
- Once you have completed stretching, move the steam wand tip slightly under the surface. Keep the milk spinning in a whirlpool motion to texture it, which will ensure your milk is glossy and shiny.
- Stop steaming milk when the milk jug becomes too hot to touch – we want the milk temperature to be between 55-65 degrees. Make sure it does not get hotter than this (70 degrees or more) as the milk will burn and affect the taste of your coffee.
- Gently tap your milk jug on the counter to pop any remaining small bubbles, and swirl the milk jug well before you pour your pattern (you are looking for a glossy wet paint finish!)
Looking for the right equipment to steam milk properly? Explore our Sage Machine Bundles which come with a free coffee subscription.

Top tips from baristas:
- Pick the right coffee
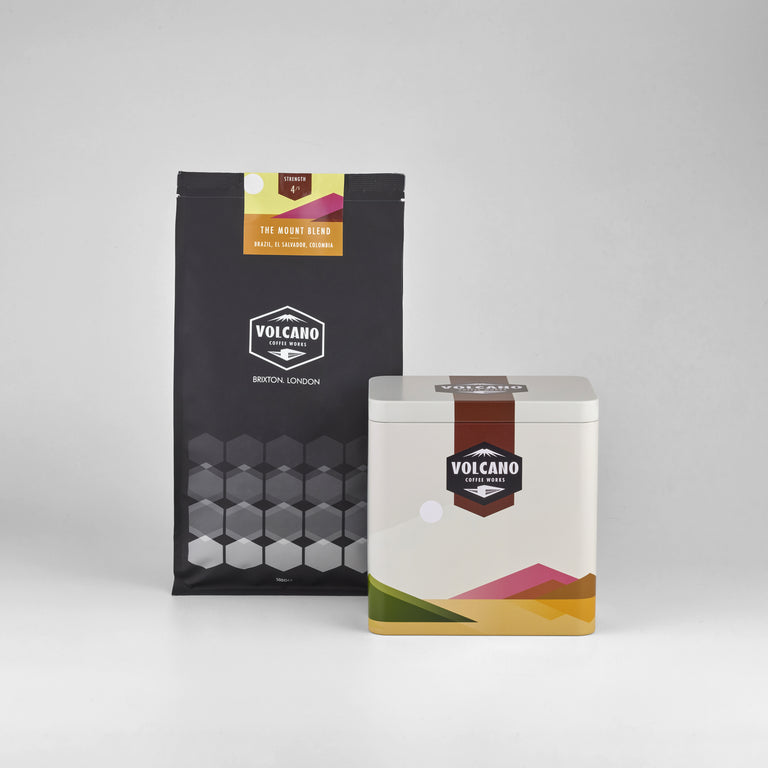
Picking the right beans is important to making a good tasting coffee. The full flavours of some coffees can really be brought out by adding milk. We recommend The Mount Blend or Fullsteam Espresso for flat whites, cappuccinos and lattes.
- Never re-steam milk that has already been steamed.
This will create an unpleasant flavour (resteamed milk can turn sour as the fat in the milk has overheated), an unstable temperature, and an unstable foam that will not hold well in the cup.
- Do not under or over-stretch your milk.
Under stretched milk can be hard to control, too liquid, and can result in patterns lacking in definition and shine. Over stretched milk will become too foamy, making it difficult to pour crisp, clean latte art.
- Before you pour any pattern, make sure you groom or polish the milk!
Tap out any remaining surface bubbles and swirl the milk well to keep the foam incorporated with the rest of the milk. This will stop the foam from separating and keep the milk fluid when you pour.
Good Milk: Wet glossy paint finish, micro-foam, good contrast
Bad Milk: Lacks shine, large bubbles, lacking definition

Tips for alternative milks
- Choose the right milk
Choosing the right milk is important. Oat milk is the best alternative option (compared to nut milks in particular) as it can tolerate adding air well and steam similarly to dairy milk. It’s also best to use the barista-style alternative milks as they are specifically designed for steaming.
- Steam milk at a low temperature
You’ll need to steam at a lower temperature (around 55°C) as alternative milk will scorch easily and affect the flavour of your coffee.
- Aerate the milk less
Aerate the milk less than you would with dairy milk as the milk and foam can separate more easily than dairy milk. Just listen out for the loud aeration noise that indicates the microfoam is being created.


