Video guide: How to pour latte art
Yes it's lockdown once again and once again we're all having to forego some of the daily rituals for drinking and eating out-of-home. There's always a silver lining though and whether making your own sourdough, the perfect espresso martini or fine tuning your latte art skills lockdown can also be the opportunity to up your game.
We eat (and drink) with our eyes so latte art is a great way to signal the quality of coffee and also quite a fun pursuit to practice as the possibilities once you learn the basics are literally endless.
Although there are literally thousands of 'designs' you can pour into a cup of coffee almost all of them come back to being able to pour the fundamentals. These are the Heart, the Tulip and the Rosetta. Get these right and almost any design you've seen, or can conceive, becomes possible.
In the videos below we've worked with our resident Latte Art expert (and even competition winner) Alessandro Zengiaro to create video tutorials that, with a bit of practice, will have you pouring the prettiest latte art in no time.
Some important context before you start:
Without these you won't be able to pour latte art so read closely:
What coffee Is best for latte art?
White milk foam needs a rich and dark background so the designs really stand out on the surface of the cup. This all comes down to the cream of the coffee; Weak light crema that has dissipated will ruin even the best latte art designs so choosing the right coffee is important.
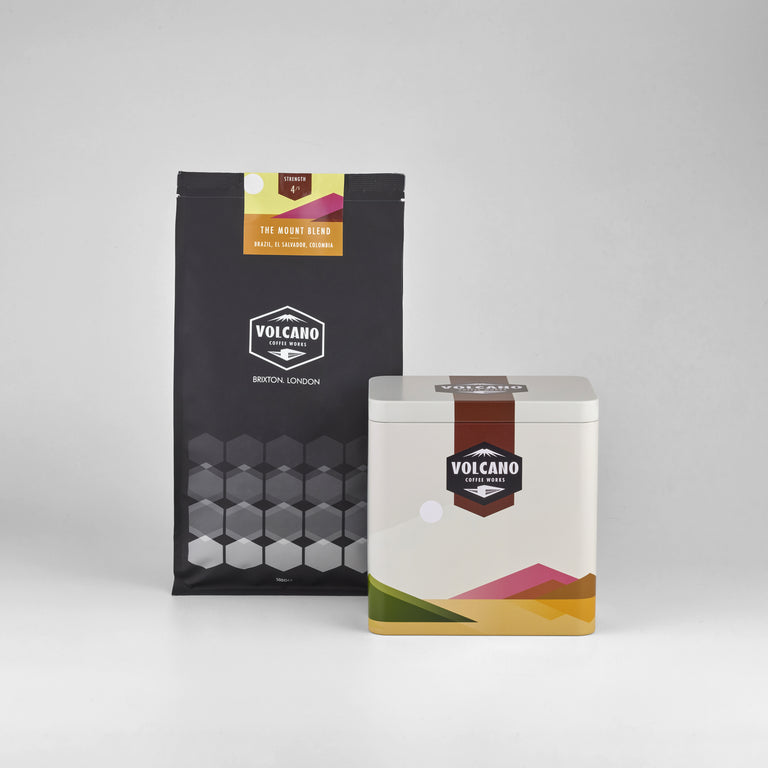
Generally dark to medium roasted coffees will produce the richest crema so always look for this when selecting a coffee. We asked Ale to suggest the perfect coffee from our range and he suggests Firehouse Blend or The Mount Blend

You also want to grind fresh. Crema is created from gases that are created by roasting the coffee. These gases are mostly trapped inside the coffee bean while it remains whole. One ground ground however (although we grind fresh and seal) gases can escape into the atmosphere which ultimately leads to weaker crema.
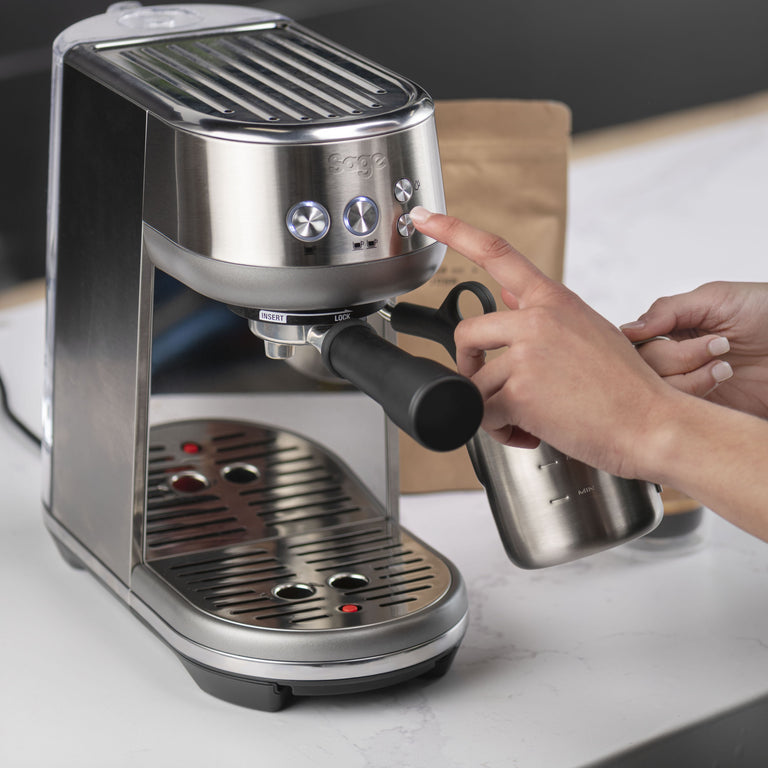
Finally shorter espresso shots might not taste perfect by themselves but they are better for pouring striking latte art. Try stopping your espresso shot slightly earlier before pouring milk and you should find that, because less water has been through the shot, the coffee you're pouring into has a darker, richer colour.
How To texture milk for latte art
The general rule here is to know what you're pouring before you begin to steam. For more detailed (leaf/rosetta-based) designs you'll want the milk to be slightly thinner (less air).
Begin with the nozzle just beneath the surface of the milk and on an angle to cause the milk to circulate in the pitcher. If you're in the right position minute adjustments to tilt the jug backwards will create more air and forwards for less.
Aim to get a little air in at the beginning of heating and then 'roll' the milk to create a dense micro-foam that should appear glossy.
Keep your milk moving in the jug once you take it off the steam wand. We don't want it to separate into milk and froth but, rather, remain one homogenous solution. This is achieved by swirling much like you'd do with a wine glass.
Setting the crema
We need contrast in the cup for the latte art patterns to look best so it's important to set a 'base' by pouring through the coffee crema rather than on top of it. To do this, angle the jug backwards slightly (e.g 45 degrees) and pour gently (but consistently) from a height between 5cm and 10cm above the cup.
The videos demonstrate this better, but we want to pour about half of the cup in this way to avoid too much froth in the final cup.
Pouring foam
Here, we want to pour the smooth white foam onto the top of the milk. The key is a steady hand but to get as close as possible to the surface of the coffee, tilt the cup towards the jug and angle the jug forward.
Getting the 'white' to pour is more about the angle of the jug to the cup so resist the natural urge to 'shake' the jug until the milk designs have begun to pour.
How To Pour a Heart: Latte Art
Hearts can be poured with slightly thick and more luxurious milk texture so are perfect when your milk is not perfectly thin or for pouring cappuccinos.
- Start by setting the crema.
- Angle the jug toward the middle of the cup until the froth merges.
- Hold this position as steady as possible while a white circle forms (a slight shake for texture is optional)
- Without breaking the pour 'pull' the milk stream up and towards the bottom of the cup. This will draw the white circle into a neat heart.
How To Pour a Tulip: Latte Art
Tulips are just layered hearts and favour a slightly thinner milk texture you might find suitable for lattes and flat whites.
- Start by setting the crema.
- Angle the jug toward the middle of the cup until the froth merges.
- This time instead of pulling through - lift the jug slightly and break the pour then begin pouring as though to begin another heart.
- Observe how the new layer pours into the initial layer. This can be increased by slightly moving the jug forward if necessary.
- Repeat as many times as desired.
- Without breaking the pour 'pull' the stream of milk up and towards the bottom of the cup. This will draw the white layers into a series of hearts or a tulip.
How To Pour a Rosetta: Latte Art
The rosetta is another pour that favours thinner milk and is most suited to a flat white style coffee. Thinner milk allows for greater definition for the 'leaves.' This is the basic premise for pouring other designs such as swans, hanging hearts or the phoenix.
- Start by setting the crema.
- Angle the jug toward the middle of the cup until the froth merges.
- Begin as though to pour a heart but instead of holding steady, introduce a slight lateral movement from the wrist. A relaxed wrist is key for definition and symmetry.
- Once the layers begin to appear slowly draw the jug backwards.
- Without breaking the pour 'pull' the stream of milk up and towards the bottom of the cup. This will draw the white layers into a series of leaves or rosetta.
Want to learn latte art from a pro? Try our coffee masterclasses, hosted at our Brixton HQ.
Videos: Alessandro Zengiaro
If you want to see some crazy latte art check out Ale's personal page here. Brace yourself!